
By Vida Gustafson
Contributing Writer
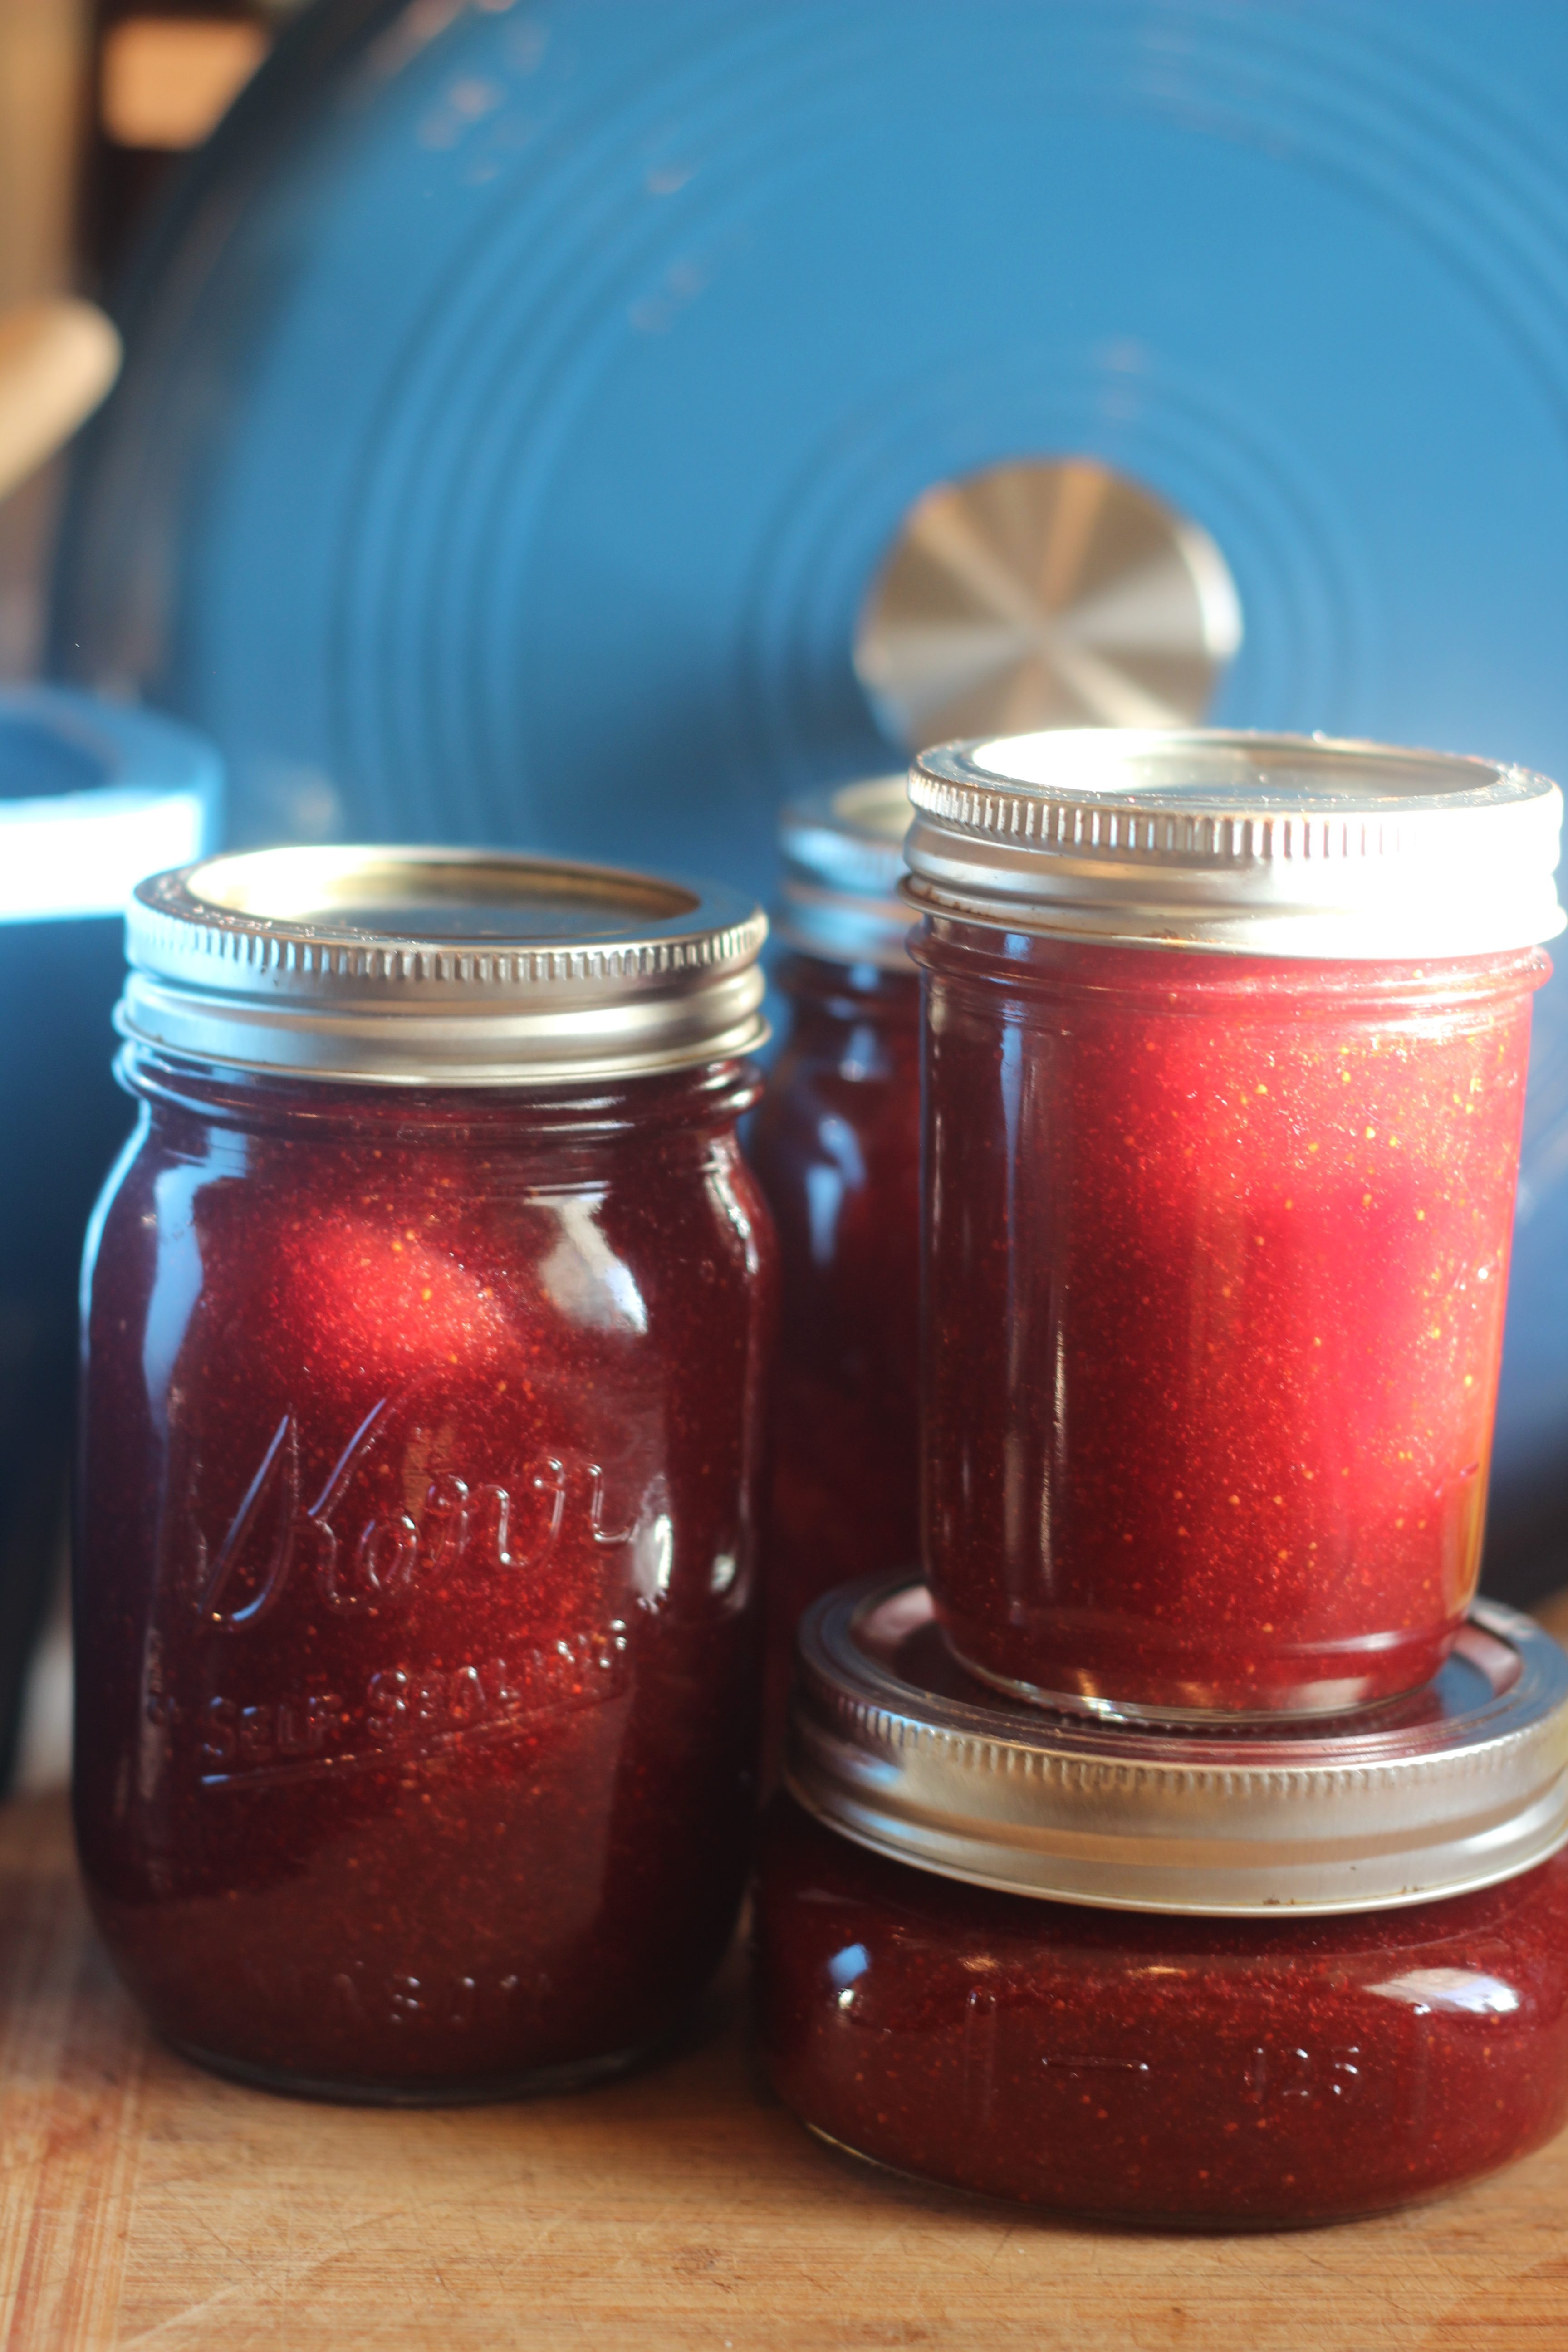
We are so fortunate in having near constant access to delicious fresh produce on the Central Coast. Once strawberry season is in full swing, we can pick up flats of fresh strawberries for a song. When this happens I like to set aside a few pounds and make jam to keep over the autumn and winter months or give away to friends and family.
The hulling, mashing, boiling and canning of fruit is a labor of love but the result is more than the sum of the parts. You can taste the love in every bite!
In this recipe, the combined pectin in the strawberries themselves and lemon juice are enough to thicken the jam. If you prefer a thicker jam, feel free to use a natural pectin, such as Pomona’s Pectin, and simply follow the instructions inside the box.
Ingredients
3 lbs strawberries
3.5 cups granulated sugar
1/2 tsp salt
1/3 c lemon juice
Method
Wash and hull the strawberries and cut larger ones in half. Put them all in the large, wide-bottomed pot that you will boil your jam in. Add the sugar and stir to cover all the strawberries.
Let it sit at room temperature for approximately an hour. The sugar will dissolve and draw the moisture out of the strawberries. You can skip this step if you must, but I think macerating intensifies the flavor of the berries and shortens the boiling time required to set the jam. Now we can mash the berries, either with a potato masher or, if you want a smother consistency, with an immersion blender for a couple of minutes.
Bring the pot to a low boil, adding the lemon juice and salt. Boil over a low/medium setting for 45 minutes, stirring periodically.
There’s so much sugar in this pot that leaving it unstirred for too long will guarantee a sticky burned mess!
Once 45 minutes has passed, put a couple of drops of jam onto a cold plate and leave it to cool. If the jam is the consistency you like, you are ready to can it.
If not, keep boiling. Every batch of jam is different. Sometimes the water takes hours to evaporate and sometimes the jam is ready to set up in under an hour. Don’t be tempted to crank up the heat, and don’t give up.
If you are in a time crunch or have to leave the house, feel free to turn the heat off, put a lid on it and come back to it, bringing it back to a boil in a couple of hours or even the next morning. Your persistence will be rewarded.
I like to sterilize my jars and lids by running them through the dishwasher with the heat dry setting on. Set these up next to where your pot is boiling. Once the jam is at the consistency you want it, pour it into the sterilized jars, leaving a quarter inch free at the top. I like using a soup ladle. You don’t want to have any hot jam spilling on your hands.
If you are planning on storing the jam at room temperature, you will need to put the jars in a large 7-quart pot, cover them with 1 to 2 inches of hot water, and boil for at least 10 minutes. This seals the jar and kills any molds or germs that could take hold during storage.
If this sounds like no fun at all, this jam can live happily in the fridge for up to two weeks. You can also store it in the freezer, but you will have to leave at least an inch of free space at the top of the jar to allow the jam to expand during freezing. Otherwise you may have an exploded jam jar in your future (and in your freezer).


